Electric Bike Troubleshooting Guide
Updated: 01/22/24
Are you facing issues with your electric bike not turning on? Or maybe your brakes feel unresponsive or your throttle is acting up? Don't worry, you're not alone. Electrical bikes can be finicky machines, and it's easy to run into problems.
At Rydy Bikes, we believe that everyone should be able to enjoy the freedom and convenience of electric bikes. That's why we've created this comprehensive guide to troubleshooting common electric bike problems. With our help, you'll be able to diagnose and fix most issues yourself, saving you time and money.
Electric Bike Not Turning On: Common Reasons
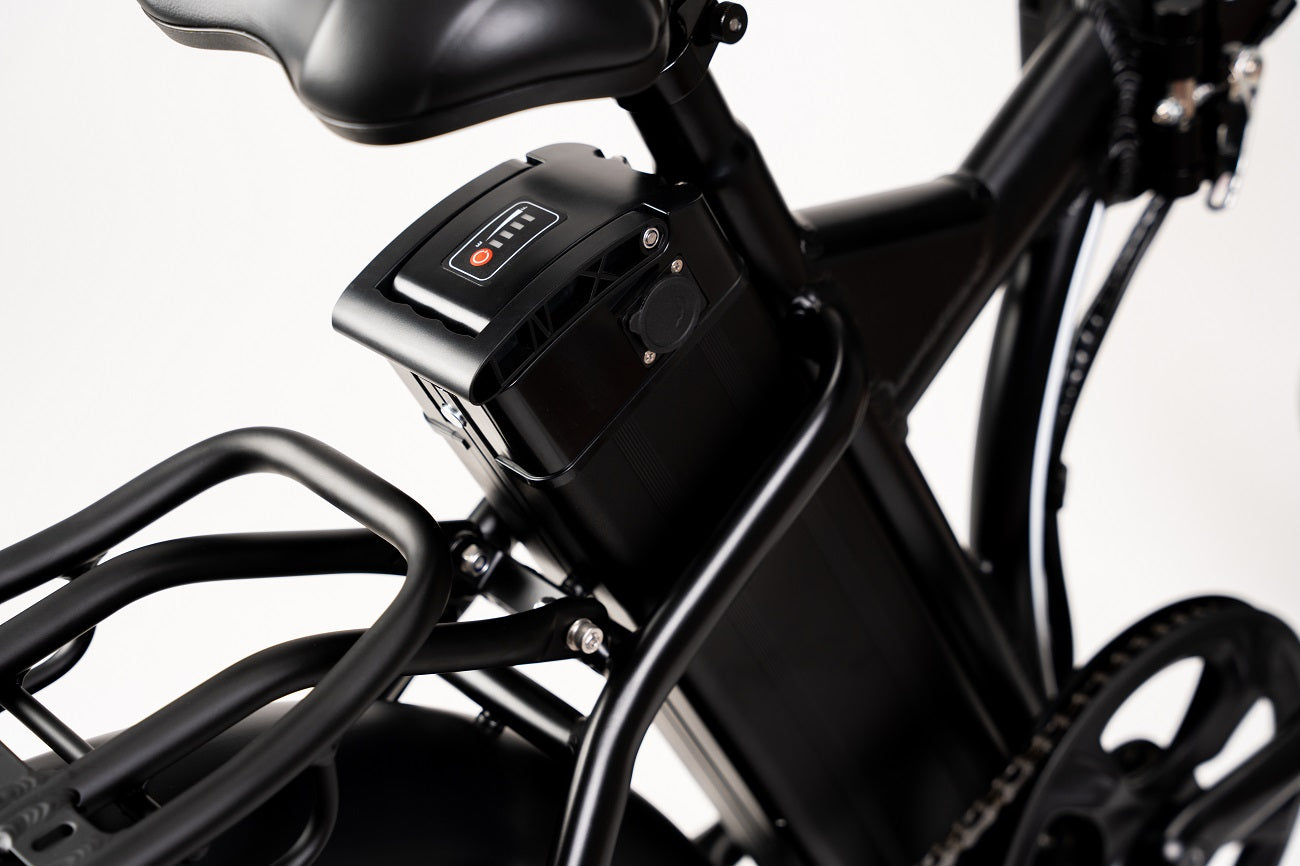
Check Your Battery
Before delving into more complex troubleshooting, it's crucial to ensure your electric bike's battery is functioning correctly.
- Examine the Battery Charge Level: Before attempting to start the e-bike, make sure the battery is fully charged. A depleted battery might not provide enough power to operate the bike or limit its range. Connect the charger and allow the battery to charge completely.
- Conduct Battery Voltage Measurement: Use a multimeter or voltmeter to accurately measure the battery voltage. A fully charged battery should maintain a voltage between 48 to 52 volts. If the voltage is significantly lower, it suggests a battery issue that may require replacement or servicing.
- Inspect Battery Connections: Scrutinize the battery connections at the battery itself, the controller, and the main frame. Ensure the connections are secure, clean, and free of corrosion. Loose or damaged connections can obstruct power flow and prevent the bike from turning on.
If these steps don't resolve the issue, professional repair or battery replacement might be necessary.
Regular maintenance can prevent many common battery issues. For comprehensive care tips, refer to our detailed guide on battery maintenance.
Diagnose the Electric Bike Motor

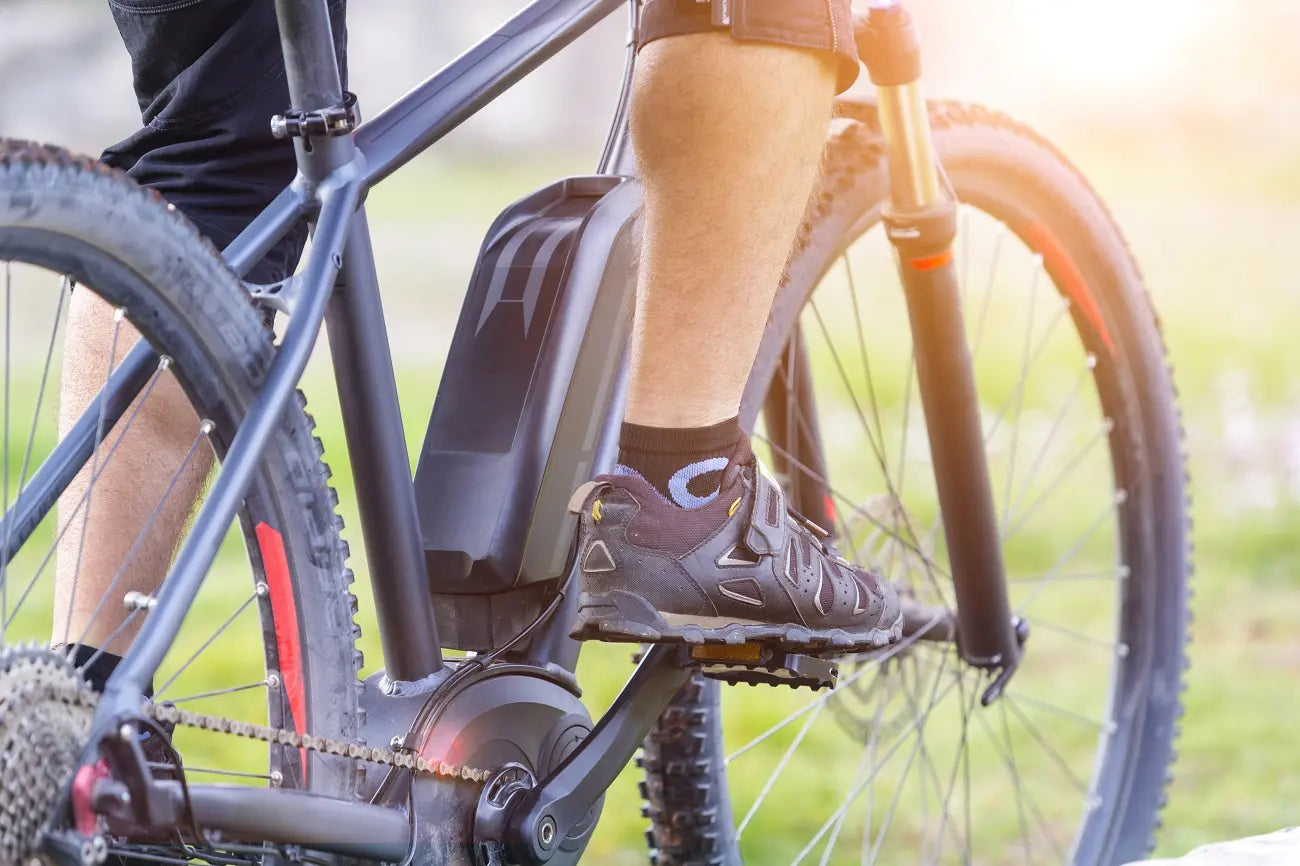
A malfunctioning motor can hinder your e-bike's performance and even pose safety hazards. To identify and address motor-related issues:
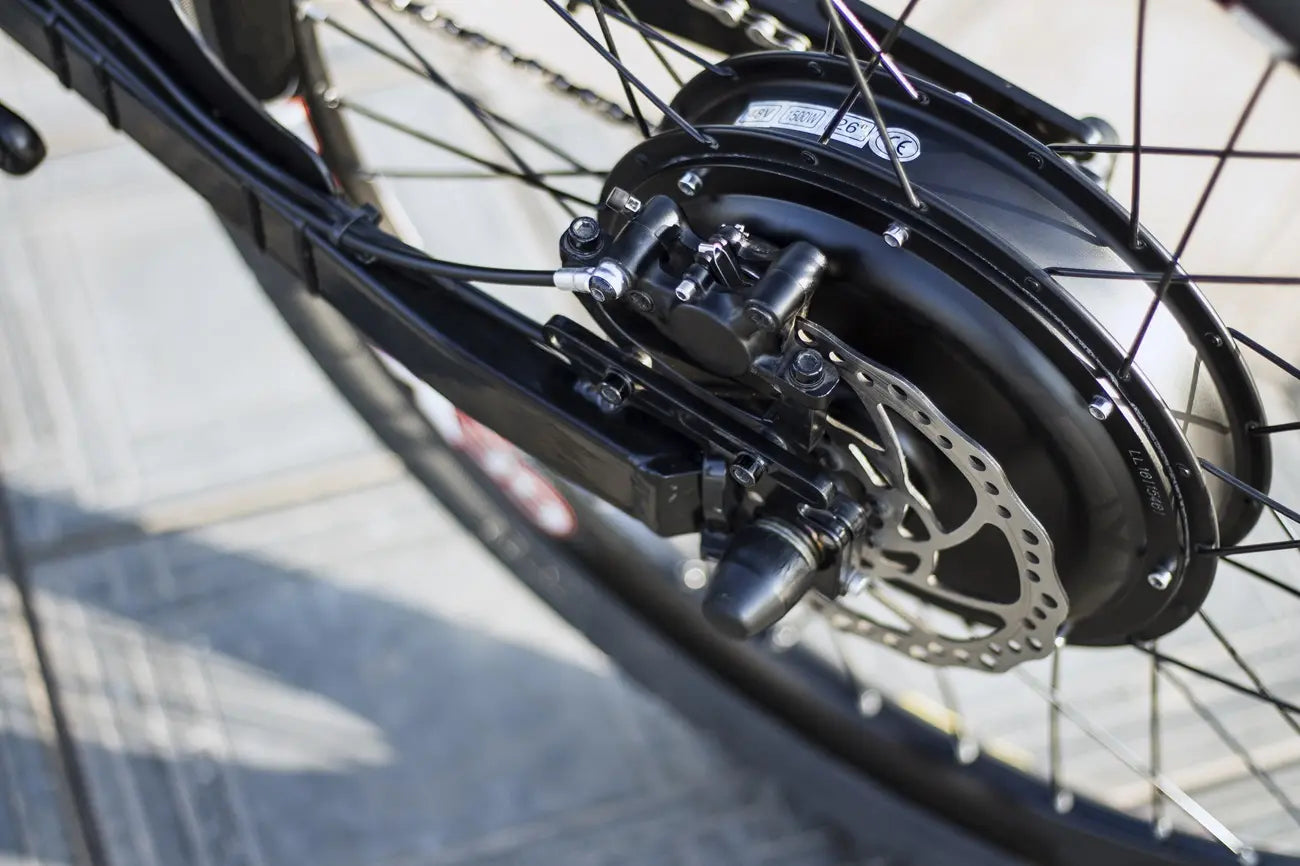
- Look for Loose Wires: A common issue, especially with rear hub motors, is loose or disconnected wires. Inspect the motor wires for any signs of looseness, damage, or even burn marks (that's also a sign that your electric bike motor overheats; that might be a hazard, so consult a qualified technician). Tighten any loose connections and replace damaged wires.
- Verify Motor Function: Spin the motor by hand to ensure it rotates smoothly. A seized or grinding motor indicates a mechanical fault that may require replacement.
Examine Brake System
A thorough brake inspection is essential for ensuring your e-bike's safety and handling. Follow these steps to identify and address potential brake-related issues:
- Check Brake Discs: If the brakes suddenly become unresponsive, inspect the brake discs for any debris or contamination. Clean the discs with a soft cloth or a brake disc cleaner.
- Inspect Brake Pads: Check the brake pads for signs of wear, cracks, or excessive wear. If the pads are worn down or damaged, replace them immediately with the recommended brake pads for your e-bike.
- Adjust Brake Levers: Check the brake levers and cable adjusters for any looseness or damage. Tighten any loose elements to ensure proper brake engagement.
- Verify Brake Motor Inhibitor: Ensure the brake motor inhibitor is not stuck in the "on" position, which can prevent the motor from engaging when the brakes are applied. Consult a qualified technician if the inhibitor is malfunctioning.
Evaluate the Electric Bike Controller

The controller serves as the central nervous system of the e-bike, coordinating the interaction between the battery, motor, and other electrical components. To diagnose potential controller-related issues, follow these steps:
- Power Switch Inspection: Ensure the power switch is in the correct position and functioning properly.
- Wiring Connections: Inspect all wiring connections for tightness and integrity. Tighten any loose connections and replace damaged or frayed wires.
- Circuit Breaker Examination: Check the circuit breaker for tripped or malfunctioning conditions. Reset the circuit breaker if it has tripped.
- Controller Component Check: Visually inspect the controller for signs of damage, overheating, or corrosion.
- Controller Testing: If the controller is suspect, use a multimeter or oscilloscope to test its voltage, current, and resistance readings. Abnormal readings may indicate a faulty controller that needs replacement.
Restore Pedal Assist System
If you notice issues like improper engagement, pulsation, or random cut-offs, it's time to investigate pedal assist system:
- Identify the Pedal Assist System: Different e-bikes employ distinct pedal assist systems. Some are integrated into the front sprocket chainring, while others are built into the bottom bracket.
- Inspect the Magnetic Ring: Check the ring of magnets on the front sprocket or the bottom bracket sensor housing. If the magnets are misaligned, it can disrupt the power delivery.
- Align the Magnet Ring: Using a flathead screwdriver or a similar tool, carefully adjust the magnet ring's position. Move it closer or farther from the sensors until the power delivery is smooth and consistent.
- Clean the Magnet Ring and Sensors: Dirt or debris on the magnet ring or sensors can interfere with proper alignment. Clean the surfaces thoroughly using a soft cloth or a cleaning solution recommended by the e-bike manufacturer.
Check for Any Throttle Issues
Electric bikes often come with both throttle assist and pedal assist systems (PAS). While the pedal assist engages the motor as you pedal, the throttle assist can activate the motor even without pedaling. Here's how to troubleshoot a malfunctioning throttle:
- Identify the Throttle Position: Check the throttle's position on the handlebars. A malfunctioning throttle often gets stuck in the rearmost position instead of returning to the default position. If so, pull it back into place.
- Check Throttle Spring Tension: The throttle spring is responsible for pushing the throttle back into position. If the spring is weak or damaged, it may not be able to properly engage the throttle.
- Inspect Throttle Cable Connections: Ensure that the throttle cable is securely connected to the throttle mechanism, controller, and battery. Loose or damaged connections can disrupt power flow to the throttle.
Troubleshooting Other Common Electric Bike Problems

Listening to Motor Noises
A variety of noises can originate from your electric bike's motor, each indicating a potential issue. Here's a breakdown of common motor noises and their solutions:
- Squealing: Squealing noises usually suggest worn brake pads or rotors. Clean or replace the brake pads and rotors to eliminate the noise.
- Grunting: Grunting noises often indicate worn-out brake pads, potentially exposing the metal backing. Replace the brake pads immediately to avoid damage to the brake disc.
- Rumbling: Rumbling noises can stem from debris or contamination on the brake pads or rotors. Clean the brake pads and rotors with a soft cloth or a brake disc cleaner.
- Clicking: Clicking noises can arise from a loose brake caliper or rotor. Tighten the caliper or rotor bolts to resolve the issue. Inspect your wheel for any loose spokes as well. Loose spokes may cause a clicking sound.
Assessing Motor Power
Intermittent or reduced motor power can hinder your e-bike's performance. Here are some potential causes and solutions:
- Battery Issues: A low battery voltage will limit the motor's power output. Charge the battery fully to restore its capacity.
- Controller Malfunction: A faulty controller can disrupt the power flow to the motor, resulting in reduced power. Consult a qualified mechanic for controller diagnostics and potential repair.
- Motor Damage: Mechanical damage to the motor, such as a seized rotor, ripped motor cables, or damaged magnets, can significantly impact power delivery. Consult a qualified mechanic for motor inspection and repair.
Resolving Display and Control Panel Issues

Display and control panel malfunctions can disrupt your ride and lead to safety hazards. Here are some troubleshooting steps:
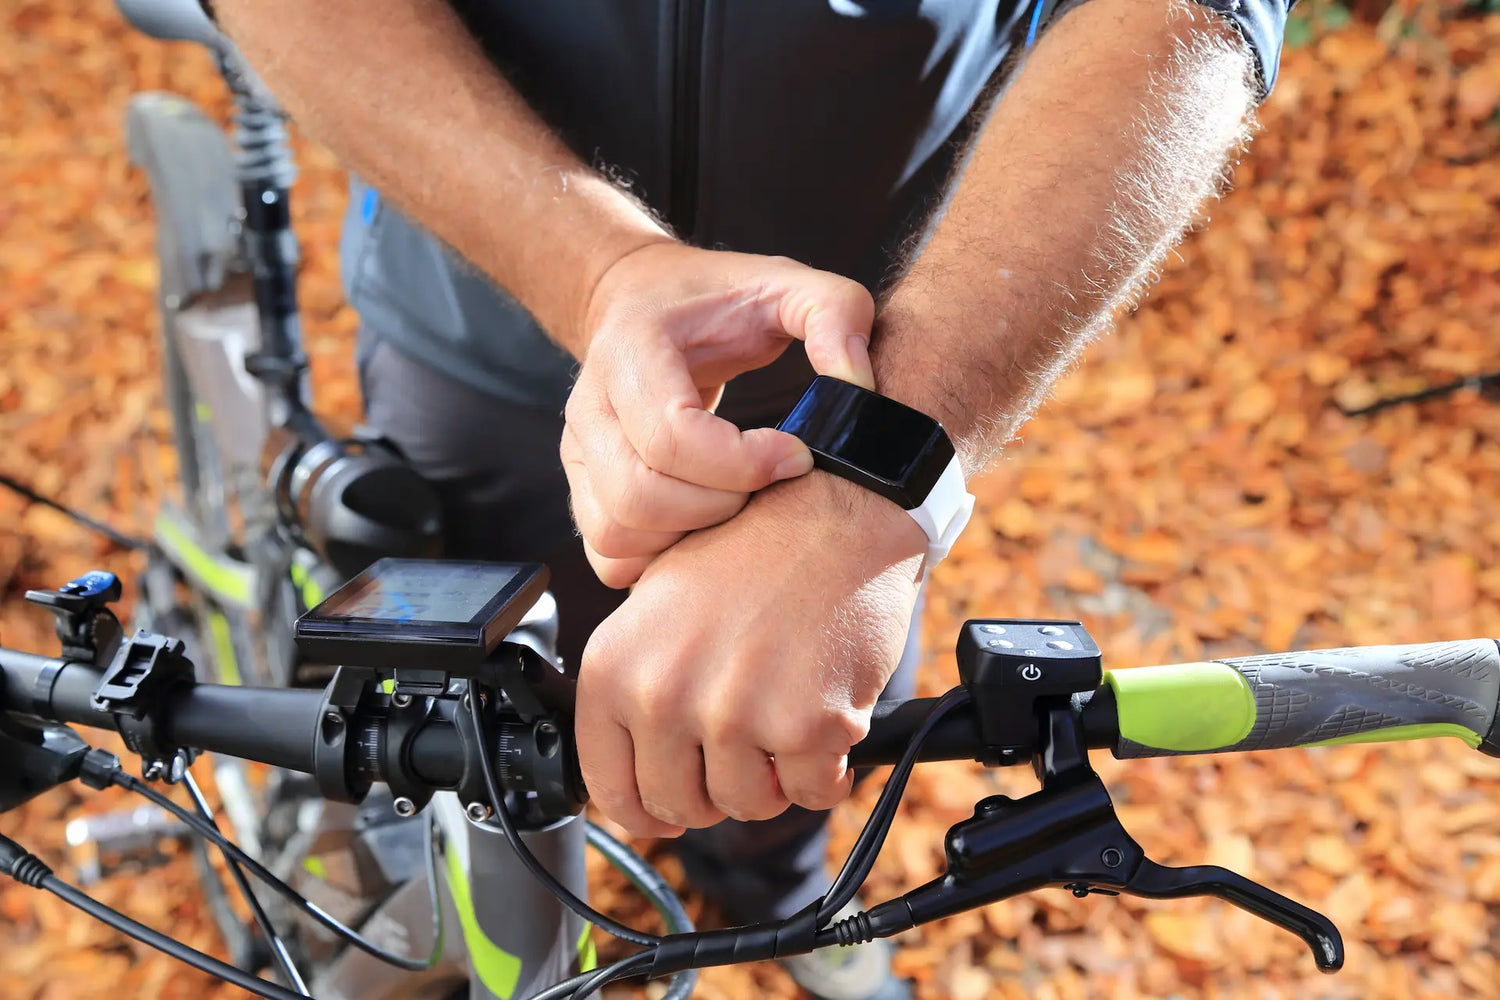
- Ensure Proper Connections: Check that the display and control panel cables are securely connected to the controller and battery. Loose connections can cause erratic or faulty display readings.
- Clean and Inspect Display: Clean the display screen and surrounding components to remove dirt or debris that may interfere with signal transmission.
- Update Firmware: Check if the display and controller firmware are up to date. Outdated firmware can cause compatibility issues and display malfunctions.
Checking the Bike Frame for Damage
Regularly inspect the bike frame for any cracks, dents, or weld defects. These damages can compromise the frame's structural integrity, posing a safety risk. Consult a qualified mechanic for frame inspection and repair if necessary.
Checking Tires for Leaks
Proper tire pressure and airtightness are crucial for efficient power transfer and safety. Check your tires regularly for any air leaks, using a tire pressure gauge and a soapy water solution to identify the source of the leak. Repair or replace the affected tire tube if necessary.
Environmental Factors
Extreme weather conditions can affect the performance and lifespan of your e-bike. Heavy rain, snow, or extreme temperatures can shorten battery life, reduce motor efficiency, and cause corrosion. Ensure adequate protection during adverse weather conditions.
Conclusion
By following the troubleshooting steps outlined in this guide, you'll be able to keep your electric bike running smoothly and safely. However, if you encounter a problem that you can't fix yourself, don't hesitate to seek help from a qualified mechanic.
At Rydy Bikes, our commitment to quality and rider experience is paramount. Our electric bikes are designed for comfort and performance, and they're easy to maintain. We're always available for consultation to ensure your riding experience is the best it can be.
Shop For E-Bikes & Accessories
SHOP NOW




![E-Bike Tax Credit Bill: All You Need to Know About Electric Bicycle Incentive Kickstart Act [2023]](http://rydybikes.com/cdn/shop/articles/e-bike-tax-credit-bill-all-you-need-to-know-about-electric-bicycle-incentive-kickstart-act-2023.webp?v=1695716182&width=1500)
